Wet and windy weather saw our expert friend, Rafter, lead a mushroom workshop on April 16th! Indoors for a PowerPoint, Q & A and snarf session; then outdoors for Shitake log inoculation and garden bed prep. Thanks to housemate JP for his effort and achievement in helping organize a delightfully illuminating event. And kudos to our many guests whose enthusiastic participation and food contributions will undoubtedly manifest in a good-Karmic harvest. Happy, happy!
Category: garden
All things related to our garden.
-
First Duck Egg!
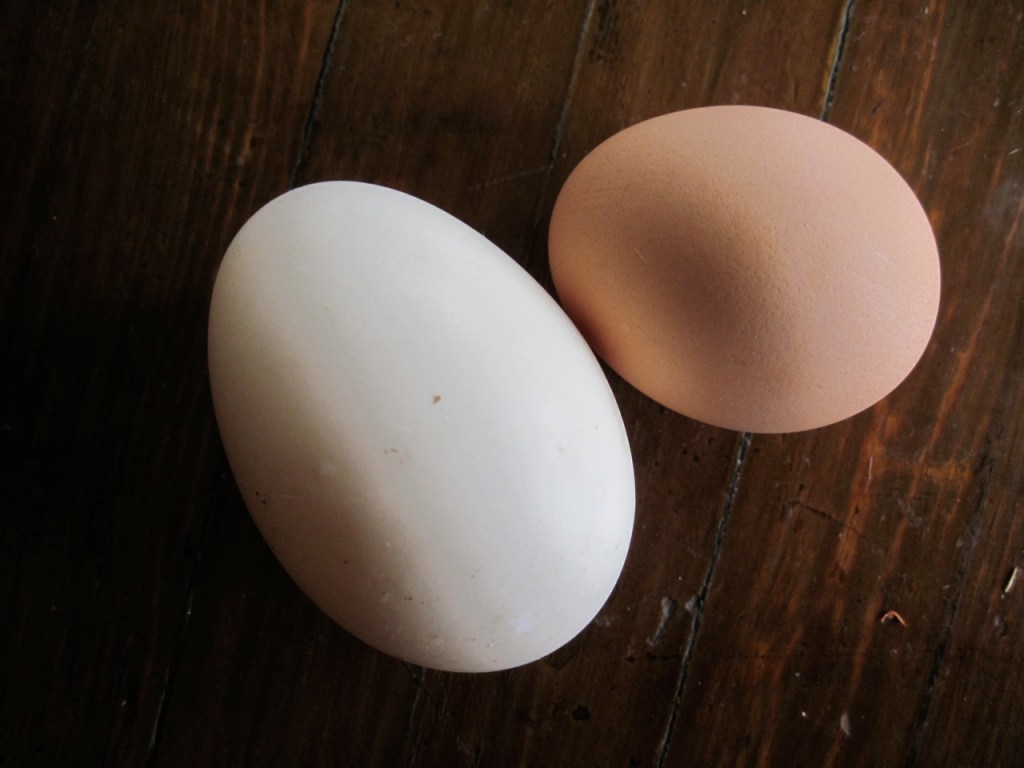
Prized duck egg (left)! 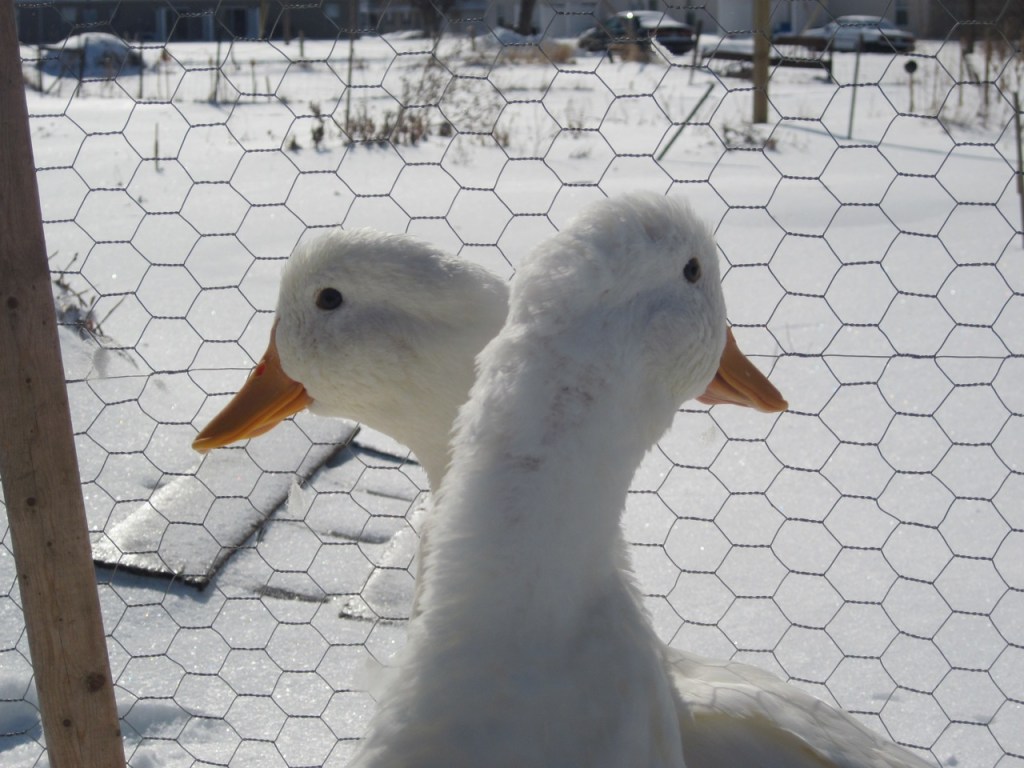
Our ducks, Mr. and Mrs. Cloud (as named by Joshy) Meet our ducks: Mr. & Mrs. Cloud. Based on what we were told when we adopted them last Fall, we didn’t expect to see a duck egg anytime soon (if ever). Well, as you can see, the layin’ has begun! This egg is amazing, with a shell that’s almost translucent, like vellum. It has been suggested that Mr. & Mrs. Cloud are especially content, now that they’re allowed to walk themselves to and from the garden puddles. Let’s hope there’ll be many more eggs to come…
-
What do bees do in the winter?

Unless you have a beehive in your backyard, you don’t see a lot of honeybees during Winter. In order to survive the long cold between flower blooms, the whole colony balls up inside of the hive and conserves heat by rubbing against one another. This mass of bees starts at the bottom of the hive and moves up the center eating all the honey. If they built up enough of a stockpile and the beekeeper didn’t take it all in the Fall, there will be enough to last till the Spring bloom. We didn’t harvest any honey last Fall, in fact Robby added an extra box of honey for the weaker of the two colonies (note the white box).Another factor that helps the bees survival over the Winter is death. The population of the hive drops dramatically from 50,000+ at the peak, all the way down to a few thousand. This greatly reduces the rate at which the colony consumes the honey stores.

Of course, with fewer workers around general hive cleaning maintenance is neglected, and the bottom board becomes a mass open grave. The bodies pile up next to puddles of excrement almost blocking the hive entrance.
On nice sunny Winter days some activity can be viewed around the hives. These photos were taken when the temperature was hovering around freezing, but the sun was thawing some of the accumulated snow. Bees were peaking out of the hole in the hive.

I sat and watched with my camera, eager to see where the bees were venturing out to, and for what purpose.

The purpose of her flight quickly became obvious. After scurrying around along the surface of the snow for a few minutes, this bee keeled over and died.

Perhaps in a selfless act, she sacrificed herself so the rest of the colony could have enough to eat and survive. Or perhaps she was denied access to the honey stores and escaped only to find the cold white doom outside.
A lot of what I’ve read about beekeeping suggests thinking about the entire colony as one living organism, and each bee, while performing a specific set of tasks, functions as the tissues and organs. So, like a bear who hibernates through Winter, the hive emerges in the Spring leaner, and eager to build up and stockpile of food. While thousands of dead bees littered around the hive seems grim, it is all part of the process of seasonal regeneration.
-
planting pawpaw seeds
The other day I stopped by the house on Washington St that has pawpaw trees growing in the yard. A nice lady named Ruth greeted us in her driveway and we spoke for awhile about her trees. They were planted 45 years ago by her husband who saved a few seedlings from a grove that was about to be bulldozed on campus.

Happy to share her bounty of fruit, she graciously served us slices of freshly ripe pawpaw and sent us each home with a few fruits. When I told her I was interested in growing my own, she gave me a container with hundreds of seeds. I also saved all the seeds from the fruits she gave me.
Eating Ruth’s pawpaws was the first time I’d ever eaten a fully ripe one. I thought they were incredibly delicious.
Normally people plant the seeds in deep containers and transplant the seedlings after they’ve grown a bit. First, however, the seeds need to experience a period of cold lasting 90-120 days, called stratification. This is achieved by refrigerating the seeds during the winter. Of course this is a lot of work and it requires patience, a quality that I can’t always depend on myself having.
My plan is to plant all of the seeds in our shady front yard. The grass grows terribly under an old Maple tree, and pawpaws can tolerate a lot of shade. I chose to plant the seeds directly into the soil, allowing them to stratify naturally during the winter. This reduces the overall amount of work. Instead of planting a few seeds and carefully watching them, I planted a lot of seeds and allowed nature to do the rest of the work.
Using a rebar spike I stabbed the ground and dropped a seed, over and over, until over 100 were planted. The idea to plant this way came from this movie. If none of them come up, no biggie, the whole process took less than an hour. However, if some come up, then a lot will, and the chances of a few surviving are better than slim.

After I planted them I received this email back from a paw paw expert: “Maples are difficult trees to plant pawpaws under because the maple roots are so aggressive and out compete the pawpaw roots for water and nutrients. At least that is true in general if not very every situation. Pawpaws grow very often in association with tulip poplar and ash. If your soil is deep and rich, then maple is probably okay.” So I guess I have to hope our soil is “deep and rich.”
The seeds will first grow a 10 inch taproot before emerging above ground next Fall. Sometime in August 2010, I’ll be looking for tiny seedlings and hoping that somehow they’ll survive the following Winter and grow into trees.
I zipped up all my pawpaw research and you can download it here. Also, this page is loaded with info.
-
mantid
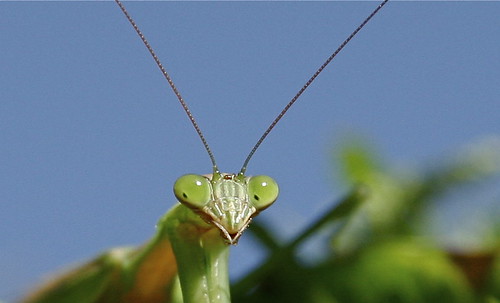
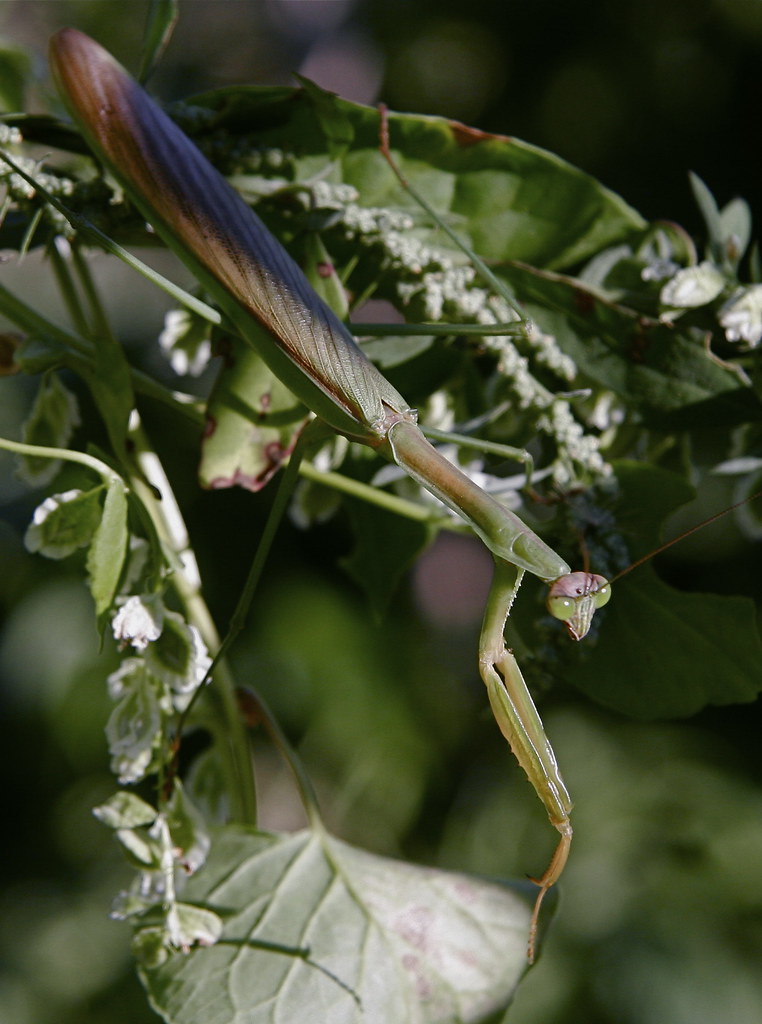
After finding their egg sacks in the Spring, I hadn’t seen a single mantis around the yard until today.
-
roasted eggplants, baba ganoush, lunch

Oh, those deep purple beauties ripening, ripening.

A little campfire, a lot of fire-roasted eggplant.

Delectable end product.
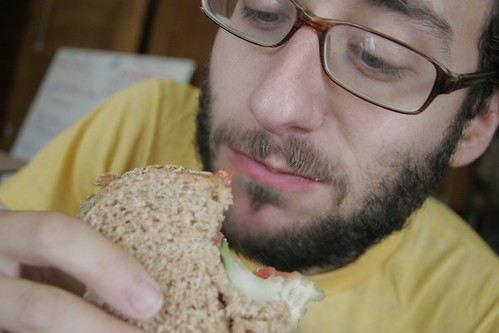
Andrew eating the hell out of a baba ganouj sandwich.
When you’re really lucky you plant some plants in just the right spot at just the right time and they say, “Man, I feel so good, I’m going to grow like mad and make lots of whatever it is I make.” We were sooo lucky here at La Casa. The eggplant plants went in the ground considerably past the prime time AND as you all know, summer was unusually cool. Eggplants like time to grow and some heat, you know, so what the hell? Not that I’m complaining. No. I am not. I’m rejoicing and not just about the mysteriously extraordinarily huge and productive plants that are our eggplant plants, but about wonderful new La Casan, Erin, who knew that you can put your eggplants by a fire to give them that extra flavor edge for better baba ganouj. But that’s not all! There’s extra flavor and then there’s someone who really knows how to work it. We at La Casa are fortunate enough to have in Erin, not just someone who can fire-roast an eggplant, but who can push that extra flavor to it’s most excellent extreme. It was so much fun today watching one after another of my fellows take their first bite and say, almost invariably, “Oh, my god!” You know, pure astonished delight.
If you want to fire-roast your eggplants just put them near your fire, almost in it. They will slowly start to shrivel and sag a bit. Keep turning them until the whole things is more or less rather shriveled. They should maintain their skin’s integrity for the most part. If they go up in flames you have gone well beyond fire-roasted.
Thanks to JP for photos and to Erin for the damned good grub. And La Casans in general for just being so great!
-
late summer hive check – mystery queen
Robbie and I opened up the hives a few weekends ago to take an inventory of the healthy hive and see how much brood the new queen has produced in the weaker hive. Sadly, we didn’t see a lot of honey in the honey supers (the shallower frames on top). We figured this was some what to be expected since our hive was just getting built up when most of the plants were producing nectar. It was a timing issue, and we were late getting our hives started.

You can see that there is some capped honey in the middle, but the bees have barely drawn out the wax comb towards the edges of the frame.In the hive that recently had been re-queened, there was a clear sign that the new queen had been successfully introduced. You can see in the photo below that some of the cells have a dark yellow cap on them. That’s called ‘capped brood’, and in a few weeks fully developed bees will eat their way out and begin working right away.

The brighter orange cells are pollen stores.When we first opened up the second hive we immediately noticed something strange. Right in the corner of the hive that we pried open with the hive tool, there was an unmarked queen hiding out.
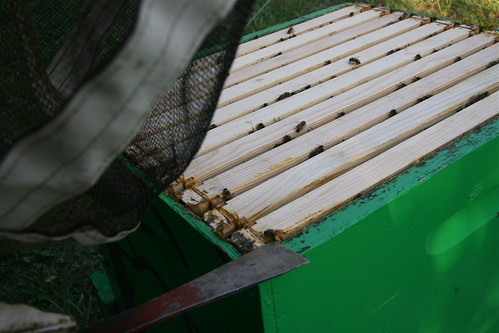
There she is about as far away from the nucleus of the hive as possible.

You can see her elongated abdomen and short wings. We were hoping to find signs of the introduced queen and maybe spot her, and oddly the first bee we see after opening the hive is another queen. I suspect that before the first queen swarmed, the bees had already started feeding royal jelly to create a new queen. By the time she hatched we had stuck a new queen in, who has now taken over the colony.If you spend a moment to think about it, a very interesting tale of courtly coups could be extracted from this. Is the native born queen entitled to the crown? Who is this imposter queen who has stolen the throne and banished the rightful heir to the far reaches of the queendom? Did we screw up the natural order of things by adding a new queen when the bees were busy rearing a new one?
We scratched our heads (through the veils), set the mystery queen aside, and continued looking for signs of the introduced queen. When we were finished and putting the frames back in we found the unmarked queen very close to where she was before.

It seems as though she still had a few workers attending to her. -
canning goodness
We canned a lot of things this past wednesday.
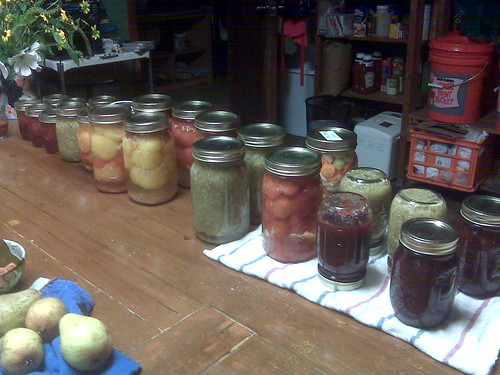
Maybe Carly can update this post with some more info!
-
fried pumpkin blossoms
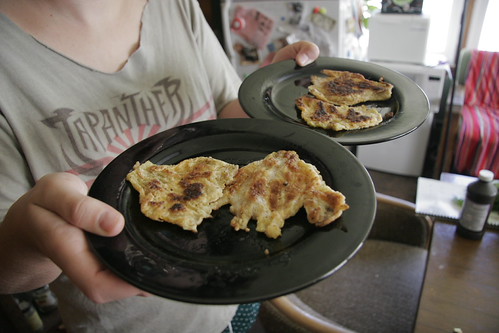
Carly made some tasty fried pumpkin blossoms and I watched and took photos.

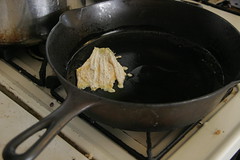
Cut the bottoms off the blossoms so you’re left with only the petals. Dip them in some beaten eggs mixed with milk (or soymilk). Then rub some bread crumbs and flour on them. Oil up a pan and throw em in. Let them fry until each side is getting a little golden. Then serve ’em to your hungry housemates.
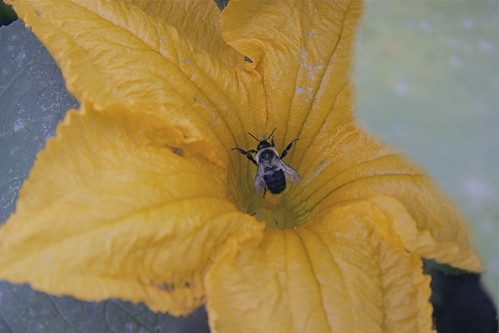
Here’s what the blossoms look like with a bee chilling in there.
-
building a legit hot compost pile
I recently attended a hot composting workshop in our neighborhood put on by a local artist who has been doing a lot of organizing this summer in preparation for a community dinner this weekend. Inspired to put into action the knowledge that was generously shared with me, I woke up this morning and decided to build a hot compost pile. We had all the necessary ingredients and tools already on hand, so I was able to get right to work.
 First I went through the garden pulling out lots of weeds. The weeds would be the nitrogen rich materials needed for the pile. We have lots of weeds growing, so there was indeed an abundance. Thse plants bring nutrients up from deep below the soil, so in a way, the weeds are helping!
 I had already cleaned out the chicken coop bedding which contained straw (carbon) and manure (more nitrogen). The next step was to shred the weeds with a lawnmower. This increases the surface area of the materials and speeds up the reaction. We got the mower for free from a friend, woohoo!
The last step was to build the pile. The goal is to create a mass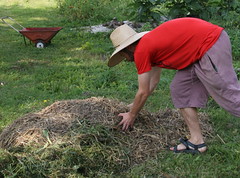 of alternating carbon and nitrogen layers. In between the layers you add water and some dirt or old compost (this primes the pile with all the needed microbes). That’s it: carbon, nitrogen, dirt, water, over and over, until you have a pile that’s about 3 x 3 x 3 feet. The finished pile didn’t make it quite tall enough, so I’m keeping my fingers crossed. I finished off the pile with a ring of chicken wire.
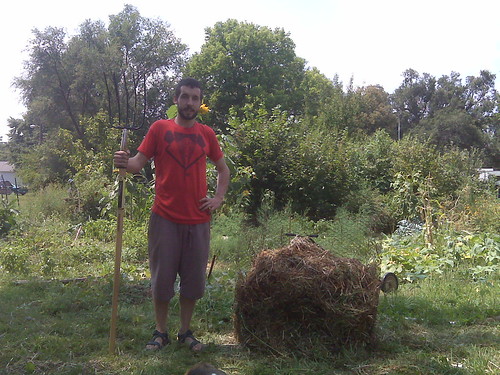
Thanks Gretchen for taking the photos! -
6 Tips for Lead Safe Gardening on Vimeo
My friend John E produced this video on soil testing using our yard. Ronna is in there digging soil. Too bad they didn’t actually do the test. Good info none-the-less!
Vodpod videos no longer available.
more about "6 Tips for Lead Safe Gardening on Vimeo", posted with vodpod -
identifying the plants in the yard
We recently had a house guest, Aaron, who works for the Chicago Park District maintaining parks and natural areas. He walked around the yard identifying everything he could. There were several prairie species, and lots of invasive weeds. We learned that the big pink flowers that the carpenter bees love is called Joe Pie Weed.

We also found the beautiful orange flowers of butterfly milkweed.

There were a couple plants the Aaron couldn’t recognize. I found the flickr photo pool called ID Please, where you upload photos of plants and animals you can’t identify and the people who troll that group ID them for you. I was able to identify this mallow plant and some comfrey that way.
Scroll through the slideshow to see some of the identified species.
Vodpod videos no longer available.


 La Casa Grande Colectiva